

Garden to Table
Vegetables have been grown successfully in hot, dry climates for many years. In Southern Nevada, Southern Utah, and Northern Arizona, many tasty crops can be produced with a little preparation and planning.
Soil preparation is very important in producing bountiful crops. . Here are a few handy tips for the home gardener:
- Don’t try to garden in caliche! If you have an impermeable layer near the surface, build raised beds and fill them with a mixture of native soil and bagged organic material like Paydirt™ Planting Mix or Dr. Q’s Vegetable & Herb Mix.
- When locating your vegetable bed, choose a spot with good air circulation. Avoid excessively windy areas or reflective heat sources like south or west facing walls.
- Use the right fertilizers for what you’re trying to grow. Leaf crops need lots of nitrogen; fruit crops like peppers and tomatoes need less nitrogen and more phosphorus and potassium. Dr. Q’s Vegetable and Tomato Food is excellent, as well as our Earthworm Castings. A Star Nursery sales associate can help you pick the right fertilizer.
When amending vegetable beds, a mix of no more than one half organic material to one half native soil will suffice. To keep the soil fresh and viable, add some new organic material each time you replant your beds. Add Dr. Q’s® Gold Dust Starter Fertilizer, according to package directions, a day or so before planting.
Surface mulches help prevent weeds, conserve water and cool plant roots. Shredded Cedar Bark repels insects! Use them generously.
Most pests can be controlled by hand and sprays of water from the hose. The biggest pests in warm weather vegetable gardens, along with aphids, are caterpillars, cabbage loopers, and hornworms. These can be safely controlled with Bio-Worm Killer® or an equivalent bacillus thuringensis (BT) product. Be conservative in applying chemicals. Use the right ones, and ALWAYS FOLLOW LABEL DIRECTIONS.
The last frost is usually early to mid-March. Due to the erratic nature of desert weather, these dates can vary considerably. Be flexible and be prepared to protect your young vegetable plants if necessary. Use hot caps, to protect young vegetable starts. Or try creating mini “hot houses” from garden stakes and heavy cloth, like burlap or Nsulate protection fabric. If you choose to use plastic make sure it doesn’t touch the foliage, it will damage your plants.
4 Tips for Growing Tomatoes in Containers
- GO BIG – With the container itself. Many times people opt for a too small container and end up setting themselves up for failure. Pick a pot that is at least 12” in diameter per plant.
- ONE PLANT PER POT – It’s easy to get carried away with planting when the seedlings are so small, but planting more than one tomato in a single pot is going to limit your overall yield.
- PICK A DETERMINATE, OR “BUSH” VARIETY – Take a closer peek at the label before you fall in love with a variety. Look for determinate, Bush or Patio varieties to make sure you’re getting a plant that’s right for your space.
- CHECK YOUR SOIL OFTEN – Container plants dry out much faster than their counterparts in the ground. Make sure you’re checking the soil everyday even if you don’t have to water in the middle of summer, you may find yourself watering 2 times a day depending on location.
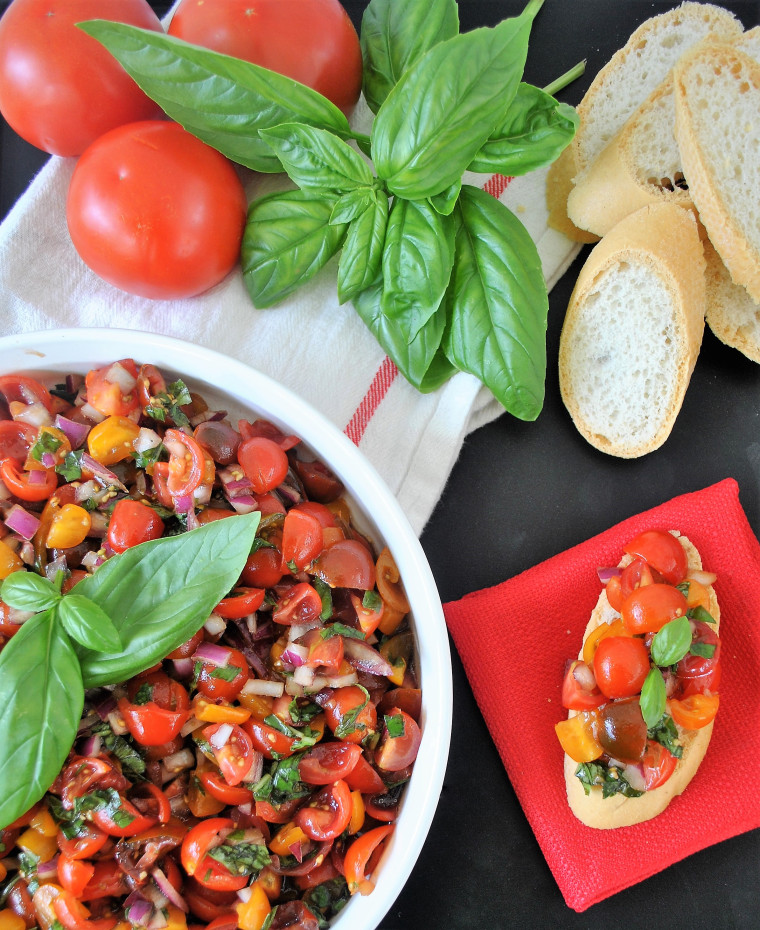
Amazing Bruschetta – recipe from the glutenfreegathering.com
Ingredients:
- 6 cups diced tomatoes (remove the liquid and seeds)
- ½ cup diced red onion
- 2 cloves garlic, finely minced
- ½ cup chopped fresh basil leaves
- 4 tablespoons olive oil
- 2 tablespoon balsamic vinegar
- 1 teaspoon sea salt (garlic salt is very good also)
- ¼ teaspoon pepper
Key things to remember…Simply place all of the ingredients into a bowl (preferably non-metallic).
Gently stir to combine. Taste and adjust seasoning as needed. Loosely cover the bowl and allow it to sit out at room temperature for 2-3 hours prior to serving. Before serving, stir the bruschetta. Select a variety of tomatoes. This will create a more complex flavor (which is great) and the contrast of colors will create a dish that not only tastes great but looks beautiful! Always, always, always remove and discard the liquid/seeds from the tomatoes. This is easy to do. Simply cut the tomatoes in half and scoop out the insides with a spoon or your fingers. Skipping this step will completely ruin the bruschetta. You will be left with a watery bowl of flavorless tomatoes. No good. Never refrigerate your bruschetta. Tomatoes simply do not do well in the refrigerator. Make enough bruschetta for the day and finish it. Allow 2-3 hours for your bruschetta to sit before serving.
This step is critical. Time allows for all of the flavors to marry. You will be thankful that you waited. Season to taste. While the recipe is a great jumping off point, you may need to add a bit more salt or vinegar to compensate for less than flavorful tomatoes. Do not use dried herbs.
Fresh basil is a must.


