Replacing screens on windows takes only 30 minutes each
Q: The screens on my windows are tattered and look terrible. I would like to change them, but I’ve never done it before. Please give me the basics so that I don’t pull my hair out.
A:
It just doesn’t get much easier than this. It will likely take you less than 30 minutes per window.
Before you buy the materials, though, check out the frames of the window screens. If they are bent or twisted, you should replace them.
A kit for a 4-by-4-foot window, which will allow you to replace the screen’s frame and rescreen the window, will cost about $35. The kits come in different colors and finishes, but they are all easy to assemble. The kit will include four pieces of frame, four corner pieces to hold the frame together, two pull tabs, two tension springs, screening material and a rubbery cord (called a spline).
Let’s assume you need to replace the frame in addition to rescreening the window.
The easiest way to get the dimension of the frame is to remove the old screen and measure the frame. You will simply use the old frame’s dimensions to build the new frame. Be careful though not to take exact measurements from a damaged frame. If the frame is damaged, measure the height and width of the window.
Take note of the depth of the grooves in the window where the new frame will sit. I usually add an extra ⅛ inch to ¼ inch to the dimensions of the frame if the grooves in the window will allow for it. That way the screen won’t rattle when the wind blows.
Once you have the dimensions, you will need to consider the size of each corner piece.
The corner pieces are typically ¾-inch square; since you will use two of them, you would have an extra 1½ inches in length added to your measurements. You will then need to subtract this length from your measurements.
Cut the frame with a hacksaw, and make sure the cut is square or the corner pieces won’t fit securely. As you put the frame together, insert the tension springs into the bottom piece of the frame, then insert the corner pieces to hold the springs in place.
Take the completed frame to the window and make sure it fits. If it doesn’t fit well, trim it with the hacksaw until it does. When you are satisfied with the fit, it’s time to add the screening.
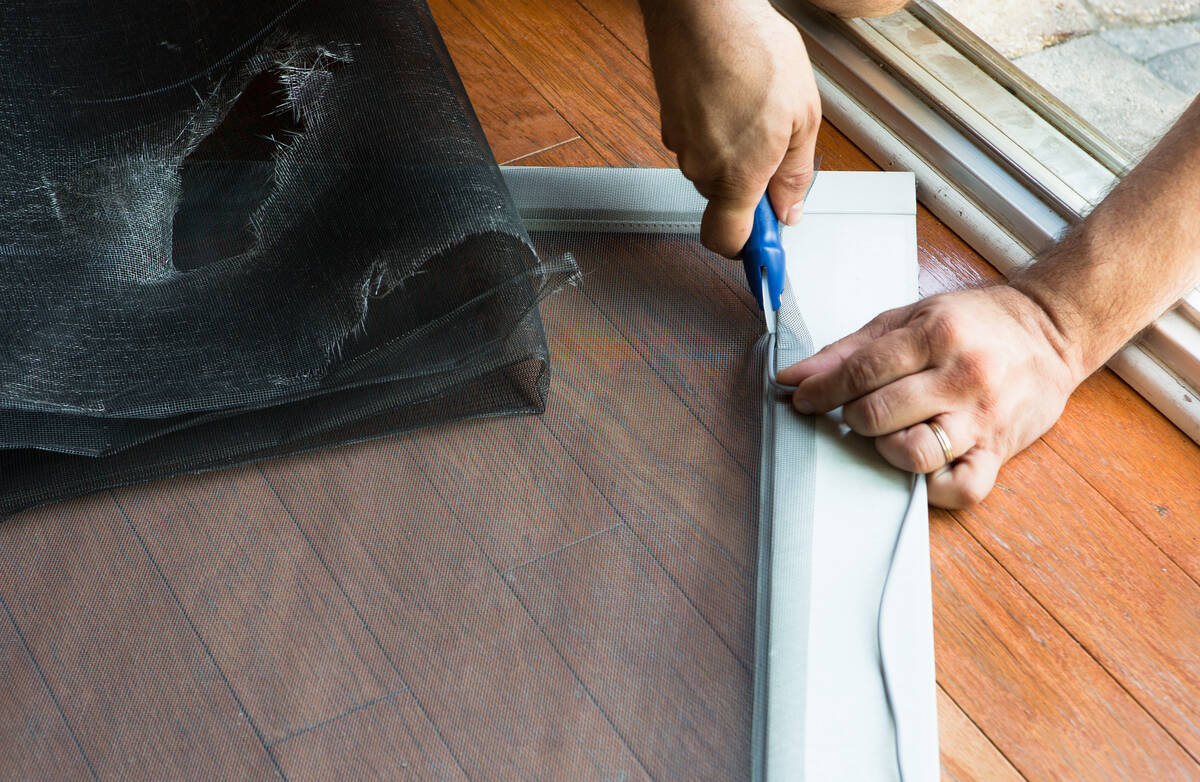
Place the frame on a flat surface with the grooved side facing up. (If you are reusing the old frame, use a small standard screwdriver to pry out the spline from the groove and remove the old screen). Cut a piece of screen so that it extends over the frame by a few inches on each side.
I suggest you buy a screening tool (about $5). This tool is nothing more than a handle with a small wheel on either side. It works like a pizza cutter, except that it pushes the cord into the frame’s groove to hold the screen material in place. You can try using a standard screwdriver, but be careful not to rip the screen with the sharp edge of the screwdriver.
Cut the corners diagonally so that the screen doesn’t wrinkle, and starting at a corner, push the cord (with the screen) into the groove.
As you roll the cord into the groove, gently pull the screen over the frame to keep it taut (if you choose to use the pull tabs, place them under the cord before rolling). Remember, though, that the frames are flimsy metal, and that if you pull the screening material too tightly, the frame may twist.
Once the cord has been inserted all around the frame, use a utility knife and trim the excess screen by running it along the perimeter of the frame.
Mike Klimek is a licensed contractor and owner of Las Vegas Handyman. Questions may be sent by email to handymanoflasvegas@msn.com. Or, mail to 4710 W. Dewey Drive, No. 100, Las Vegas, NV 89118. His web address is www.handymanoflasvegas.com.
Do-it-yourself
Project: Rescreen your windows
Cost: From around $30 each
Difficulty: ★★
Time: About 30 minutes per screen


