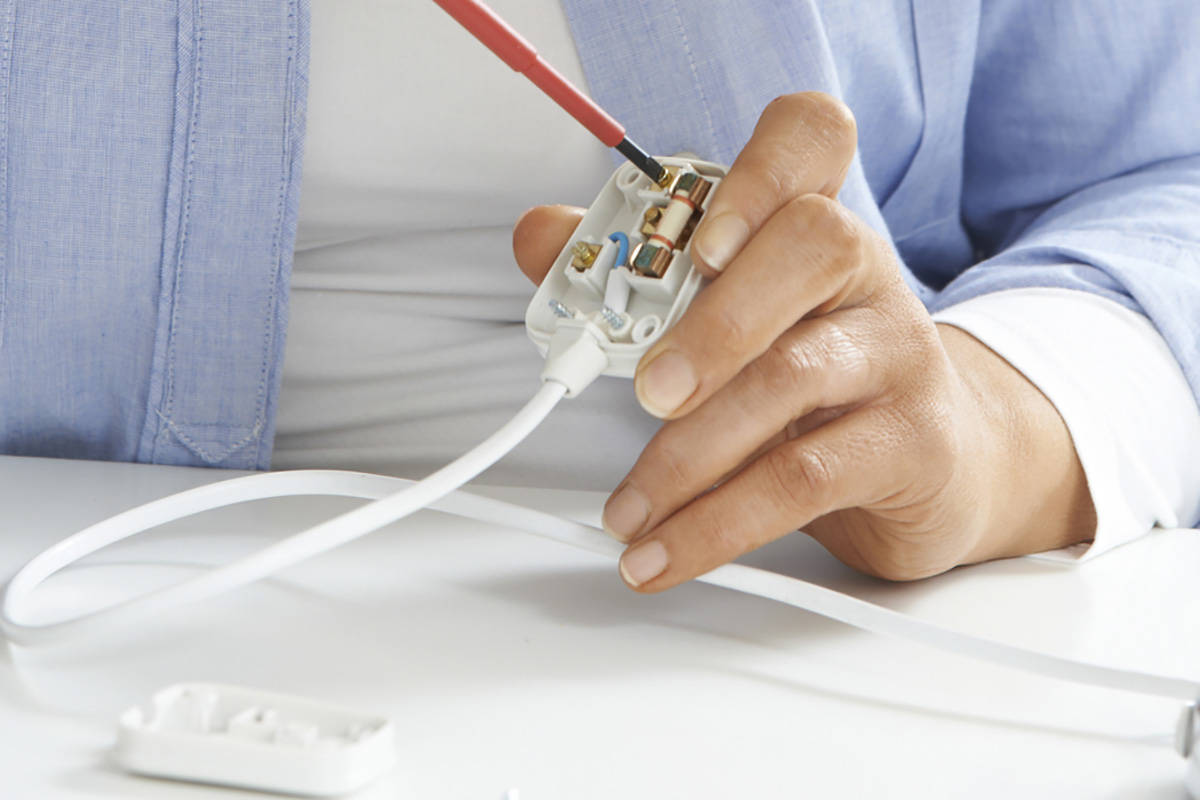
Replacing plug on electrical cord is relatively easy
Q: I have a heavy-duty circular saw, and the plug on the end of the cord got smashed during a move. My mother has a lamp with a damaged plug, too. I don’t use the saw much, so I don’t want to dump too much money into it, but my mother certainly needs a new plug for her lamp. How do I go about replacing the plugs?
A: It sounds like you have the opportunity to be a hero to your mother. I’m sure she would appreciate you fixing her lamp, just as she appreciated you eating your vegetables as a child.
Replacing a plug on an electrical cord is pretty easy, but you might want to check the condition of the cord; if it is cracked or damaged, you must replace it to avoid a shock hazard.
Your saw will have a round cord, while the lamp will have a flat one. You must buy a matching one for both. The plug for the saw will be a grounded plug (three prongs); the lamp will typically be just two prongs.
The lamp plug may also be polarized. A polarized plug has one wide prong and one narrow one that allows it to fit into the electrical outlet just one way. This makes it so that the cord wires are aligned correctly with the openings of the outlet.
Once you have purchased the correct plug, it’s a matter of cutting off the old one and wiring up the new one. Cut the old one off the cord close to the plug. (You don’t want to cut a 6-foot cord in half to replace the plug.)
Remove the faceplate from the new plug and thread it over the cord. You will strip off about 3 inches of the insulation to expose the wires and you should tie the hot and neutral wires in an underwriter’s knot (a looping knot to prevent the wires from being pulled off the screws).
With the knot tied, you can gently pull it into the cavity of the plug (this is only for the larger round cord type plugs). Wrap the black wire clockwise around the brass screw, and wrap the white wire clockwise around the silver screw. If you have a ground wire (it will be green), you can wrap it clockwise around the grounding screw (the only screw left).
Push the faceplate back on the end of the plug, tighten the clamp at the base of the plug (this also holds the plug to the cord) and you can start sawing away.
For the lamp’s flat cord, you can either cut the old plug off or separate the top from the bottom with a screwdriver. A flat cord will have two sides, one ribbed and one smooth. When you install the new plug on the cord, the ribbed side should be paired with the wider prong (the neutral side) of the plug.
From there, it’s the same procedure: Wrap each wire clockwise around the proper screw and then snap the covers back together. Some covers have a screw to hold them together, so if yours does, screw it together and plug it in.
By the way, this type of plug really doesn’t have a great clamping method to the cord, so make sure you pull the plug out of the outlet by holding onto the plug and not the cord.
Some people prefer to unplug an appliance by holding onto the cord and jerking it out of the wall. Bad move: You could damage the appliance or the cord, or even have a hair-curling experience.
Mike Klimek is a licensed contractor and owner of Las Vegas Handyman. Questions may be sent by email to handymanoflasvegas@msn.com. Or, mail to 4710 W. Dewey Drive, No. 100, Las Vegas, NV 89118. His web address is www.handymanoflasvegas.com.
Do-it-yourself
Project: Replacing a plug
Cost: Under $10
Time: Around 30 minutes
Difficulty: ★


