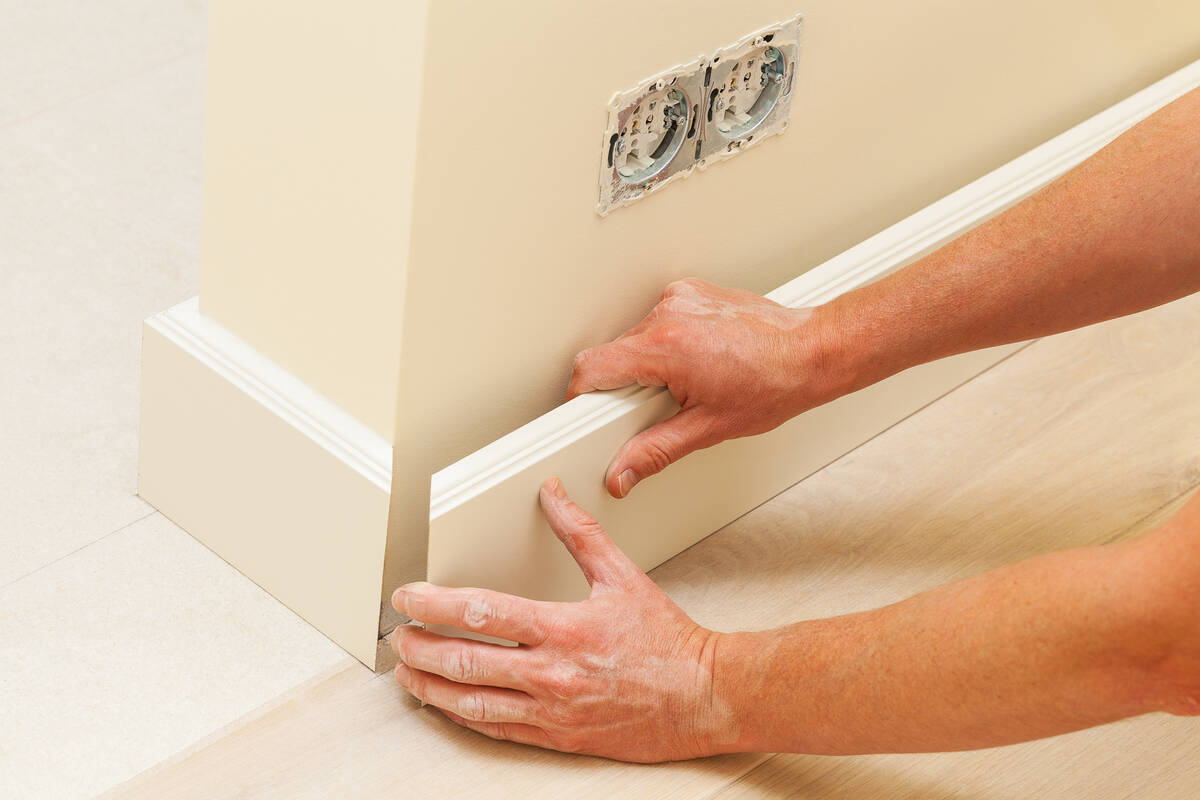
Replacing baseboard an inexpensive improvement
Q: I have just taken back a rental property that I am going to live in. After painting and repairs, I am thinking of replacing the baseboards with something nice looking. Is this expensive and/or difficult?
A: This is an easy job that gives you a lot of bang for the buck. You can go from boring to breathtaking in an afternoon.
I bought my first house many years ago at a foreclosure auction and it was a mess. The first thing I did was paint the place and replace the carpet. For a little elegance, I installed some baseboard molding and door casing that I stained a natural oak color and varnished to a high gloss. What a difference this made. The custom look made the home warm and inviting.
To change the baseboards and casings, first remove the old ones without damaging the walls. You can do this by placing a scrap block behind a hammer and slowly prying off the old baseboard and casings.
Before you pry off the old stuff though, score the top of the baseboards (or side of casings) with a utility knife, where they meet the wall. This will prevent tearing out the paint and wallboard where a painter may have filled gaps using caulk.
The cost for new baseboards and door molding varies depending upon type and style. Most trim (baseboard and casing) is made from solid wood or MDF (medium-density fiberboard) covered with a thin veneer.
You also can buy trim made from various types of plastic. I wouldn’t suggest this because it looks cheap. Also, the high speed of a power miter saw can cause the plastic to melt.
Trim is sold by the linear foot and varies from around 75 cents per linear foot for the MDF to more than $8 per linear foot for the solid woods. You also can use a combination of moldings (base shoe, baseboard, base cap) to get custom profiles.
This is up to your taste and your budget.
Installing the door casing comes first. Take a pencil and a combination square (about $5) and draw a light line 3/16 of an inch from the inside of the doorjamb. This will be the “reveal” line, with which the front edge of the trim is aligned.
Measure the lengths of the pieces you will need to surround the door and add a little for the mitered corners.
I would highly recommend that you finish (stain and varnish or paint) the casing (or baseboard) before you nail it to the wall. It is much easier to stain wood while standing up in your garage than it is to do it lying down on your floor.
Once the finish is dry, you will need to miter the corners (cut the corners at 45 degrees). You can rent a power miter saw, also known as a chop saw, for around $100 per day, or you can buy a miter box and a backsaw (this one is powered by your arm) for about $50.
Use scrap wood cut to 45 degrees and hold them up to the corners. Although the corners should be a perfect 90 degrees, sometimes they are not. Adjust the saw and cut both pieces at the new angle.
After the pieces are cut, secure them to the jamb using 4d nails if you don’t have a nail gun and compressor. If you are using hardwood trim, make sure you predrill the holes for the nails. If not, your trim will split and your vocabulary will grow.
Sink the head of the nail below the surface of the trim with a nail set (about $5) and fill the hole with wood putty. You will have to touch up the finish wherever you filled a nail hole.
Start the baseboards by cutting the length for the longest wall first. If your baseboard won’t completely cover the entire length of the wall, you can splice two pieces together by cutting the adjoining pieces at a 30-degree angle. This way if the pieces start to separate later, you won’t have an obvious gap.
Rough-cut the pieces for the rest of the room.
There are two ways to get a great looking inside corner. You can miter the corner (as you did with the door casing), or you can cope the inside corner. Coping is cutting the profile of the baseboard into the end of the piece that intersects it.
To cope an inside corner, cut one end at a 45-degree angle as if you were cutting an inside miter. Then, use a coping saw (about $25) to cut along the profile left by the miter.
You can make a flawless fit by using a wood file (about $10) to smooth out any rough spots.
Continue mitering and/or coping around the room, predrill and nail it up using 6d nails.
Mike Klimek is a licensed contractor and owner of Las Vegas Handyman. Questions may be sent by email to handymanoflasvegas@msn.com. Or, mail to 4710 W. Dewey Drive, No. 100, Las Vegas, NV 89118. His web address is www.handymanoflasvegas.com.
Do-it-yourself
Project: Installing baseboard
Cost: From around 75 cents per foot
Time: 4-8 hours
Difficulty: ★★★


