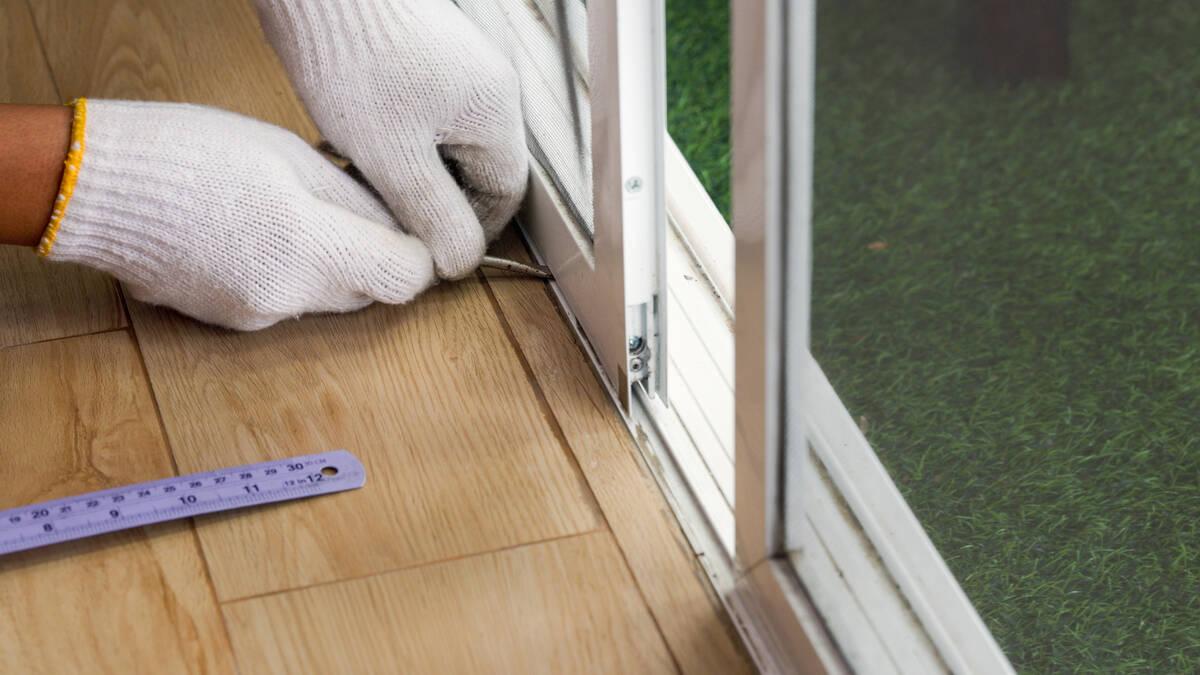
Replace rollers on bottom of sliding door to eliminate sticking
Q: I have a problem with my sliding glass door. To get it to open, I have to practically put my foot against the doorframe and pull with all my might. Please help me save my back.
A: I’ll bet that your door didn’t just start sticking. In fact, it has probably been doing that for several weeks, if not months. It all started with an innocent little scratching noise and evolved into a full, metal-on-metal grind.
It sounds as though you need to replace the rollers on the bottom of the door. The rollers are typically made of plastic and are connected to a metal housing. If the wheels weren’t plastic, we wouldn’t be having so much fun replacing them. This is not hard, just a little cumbersome. The door is large and somewhat fragile.
The first thing you need to do is remove the door. At the bottom of the door are two screws (each end of the door has this set). The bottom screw on each side is recessed through a hole in the door’s frame. This is the adjustment screw for the roller assembly. These screws raise and lower the door.
To remove the door, first slide it near the middle of the track. This allows access to the adjustment screws on either side. Turn the screws on each side counterclockwise to lower the door all the way onto the guide track. This will give you enough clearance from the top of the door and the upper track to lift out the door.
This is the tricky part — the door is heavy, so as you lift it up, carefully swing the bottom toward you and gently lay it on its side. Now you can finally see your nemesis.
Remove one roller assembly by extracting the two screws holding it in place. You will probably find that either the wheels are so badly corroded that they won’t move, or that the plastic wheels have broken and therefore won’t turn.
Take the roller assembly to a home improvement store. I would caution against buying the rollers first because there are about 40 different styles, and buying the wrong one is common.
When you return home, remove the other roller assembly, and install the two new ones. They each attach with two screws. By the way, while the door is off, clean the bottom track by removing the dirt and applying a little furniture polish.
Stand the door back up, place the top in the upper guide, and then swing the bottom back onto the bottom guide. Make sure that the groove in the wheels sits directly on top of the bottom guide. If you can’t get the bottom of the door to clear the track, turn the adjustment screws counterclockwise to retract the new rollers far enough to clear it.
Now that the door is back on the track and the rollers are aligned with the guide, turn the adjustment screws (one on each end) clockwise to lift the door off of the bottom track. Adjust the screws until the door is level and rolls easily.
Mike Klimek is a licensed contractor and owner of Las Vegas Handyman. Questions may be sent by email to handymanoflasvegas@msn.com. Or, mail to 4710 W. Dewey Drive, No. 100, Las Vegas, NV 89118. His web address is www.handymanoflasvegas.com.
Do-it-yourself
Project: Sliding door maintenance
Cost: Under $50
Time: 1-2 hours
Difficulty: ★★★


