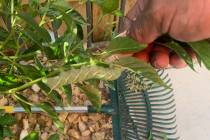
Installing crown molding requires patience


Q: My husband and his friend spent several hours trying to install crown molding in our nursery. They finally gave up because they couldn’t get the corners right. How can they finish the job, so our nursery will look fit for a king?
A: Tell your husband that installing crown molding is child’s play compared to fatherhood. However, getting the molding to look right is precise work that requires patience and perseverance. All in all, it’s good practice for soon-to-be parents.
An essential tool for this job is a power miter box saw, which cuts corners quickly and cleanly. A low-end 10-inch model sells for around $160 or you can rent one for about $25 per day. (An even better choice is a compound miter box saw, which cuts two angles simultaneously.)
If you choose a power miter box saw, you will likely have to clamp a higher fence on it due to the height of the molding. Also, the job is more forgiving if you plan to paint the molding since you can hide flaws easily with wood putty and caulk. If you plan to stain and varnish the wood, the fit must be exact. Any flaws, particularly the corners, will be noticeable.
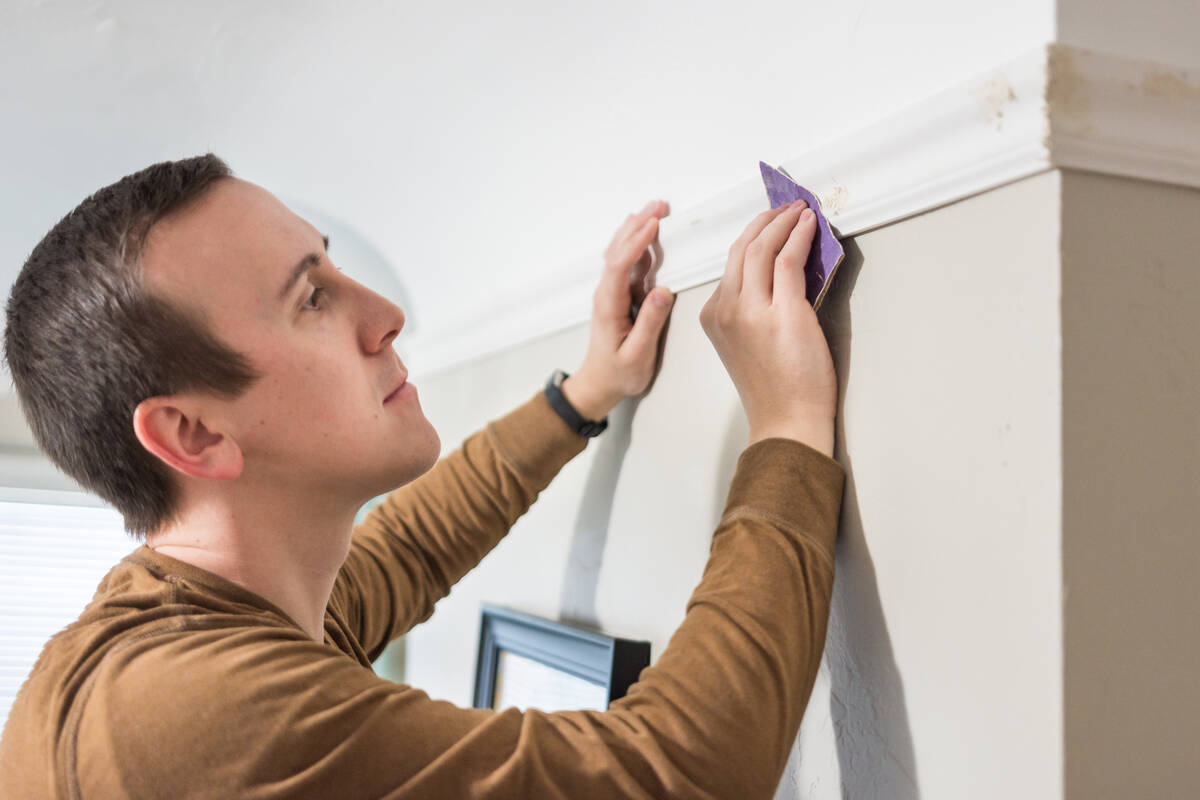
The first thing to do is get a stud finder and go around the room with a pencil marking the location of the wall studs and ceiling joists. Make the marks about 5 inches from the top of the ceiling on either side of the corner.
Next, use a carpenter’s square and hold a piece of molding in the square and measure where the molding will be on the wall and the ceiling. Make a template from these measurements by nailing two pieces of wood together to form an L.
Hold the template in the corner of the ceiling, and mark horizontal lines on the ceiling and the wall wherever you previously marked the locations of the studs. You now have the exact location of where the molding will be positioned and nailed.
With crown molding, you don’t start in one corner of the room and work your way around. You will want to fit the outside corners first. Since these are the most noticeable, you want these to be as close to perfect as possible. And, because you will only see the front edge, I suggest you overcut the miter by 1 degree. There will be a slight gap in the back (where nobody will see), but it will help pull the front edge tight.
Predrill a pilot hole for a 4d nail at the edge to keep a tight joint once the molding has been secured. The nail will go from one piece of molding into the other, at the corner, to keep the corner secured.
Since drywall corners are rarely perfectly square, you will need to hold the corner pieces together and check the fit several times. You will need to shave small amounts from the ends to get the fit just right.
Once the corner looks good, use a 3/30-second-inch bit to predrill holes through the molding at the location of the studs, and secure the molding to the wall with 6d finish nails. Once the two pieces of molding that form the outside corner are secured, drive the 4d nail through the corner to keep the corner joint tight.
Once the outside corners are done, move to the inside corners. You can be much less precise with saw cuts on the inside corners because you won’t be using mitered cuts. Instead, you will use a technique called “coping.” This involves cutting an exact outline of the molding in the end of the mating piece. Fortunately, it’s much easier than it sounds.
Start by cutting the molding as if you were going to miter the inside corner; be sure to leave the piece a few inches long. The mitered cut will leave the exact profile in the end of the molding. All you have to do is follow the line on the face of the molding using a coping saw (less than $20).
Angle the saw back about 30 degrees to remove any excess wood, and then use a wood file to get a sharp edge. Test the fit against another piece of molding, and make adjustments, if necessary. The finished fit will be seamless.
It may take you 30 minutes of making adjustments to get the corner to look right. Just relax and take your time, because that is the difference between amateur and professional-looking results.
Once the fit is perfect, nail it up. Incidentally, you will find that on some walls you won’t have a ceiling joist to nail the molding into because they will run parallel to the wall you are working on. So get creative.
You can try using a 10d finish nail hit into the center of the molding and into the top plates of the wall (you will have to countersink the head and carefully fill the hole to hide it). You also can use construction adhesive on the top of the molding (use 4d nails to hold it in place until the adhesive fully hardens). Lastly, you can nail an angled piece of wood (called a cant strip) to the ceiling corner behind the molding, and then nail the molding to the cant strip.
Finally, caulk the gaps between the edges of the molding and the walls.
Use a paintable silicone caulk (about $10 a tube), and paint it the same color as your walls.
Mike Klimek is a licensed contractor and owner of Las Vegas Handyman. Questions may be sent by email to handymanoflasvegas@msn.com. Or, mail to 4710 W. Dewey Drive, No. 100, Las Vegas, NV 89118. His web address is www.handymanoflasvegas.com.
Do-it-yourself
Project: Install crown molding
Cost: From around $400
Time: 4-8 hours
Difficulty: ★★★★★