How difficult and costly is installing ceramic tile?
Q: I want to replace my bedroom carpet with ceramic tile, but when I pulled up a corner of the carpet, I discovered that the floor is concrete. Is this job difficult, and how much will it cost?
A: The most difficult part of this job, aside from the physical demands of lifting and setting tile while on your knees, is the layout of the tile. Ceramic tile starts at less than $1 per square foot, plus mortar, grout and incidentals.
The first thing to do is remove the carpet, the tack strip and all of the nails that hold the tack strip to the slab. Next, vacuum up the dirt from the slab.
When you remove the carpet, leave about 4 inches of carpet coming into the bedroom. Fold it under so no one trips on it. You will use this as a transition to the new tile at the end of the job.
Laying out the tile is the most important part of the job. Your goal is to arrive at a starting point that doesn’t leave you with thin pieces of tile around the perimeter of the room.
Snap a chalk line down the center of the room, then snap a second line to run perpendicular to the first line from the adjacent wall. Use a framing square to make sure the lines are square. Lay out the tiles with tile spacers along these lines. You probably will have to move one or both chalk lines so you don’t have slivers of tile around the room.
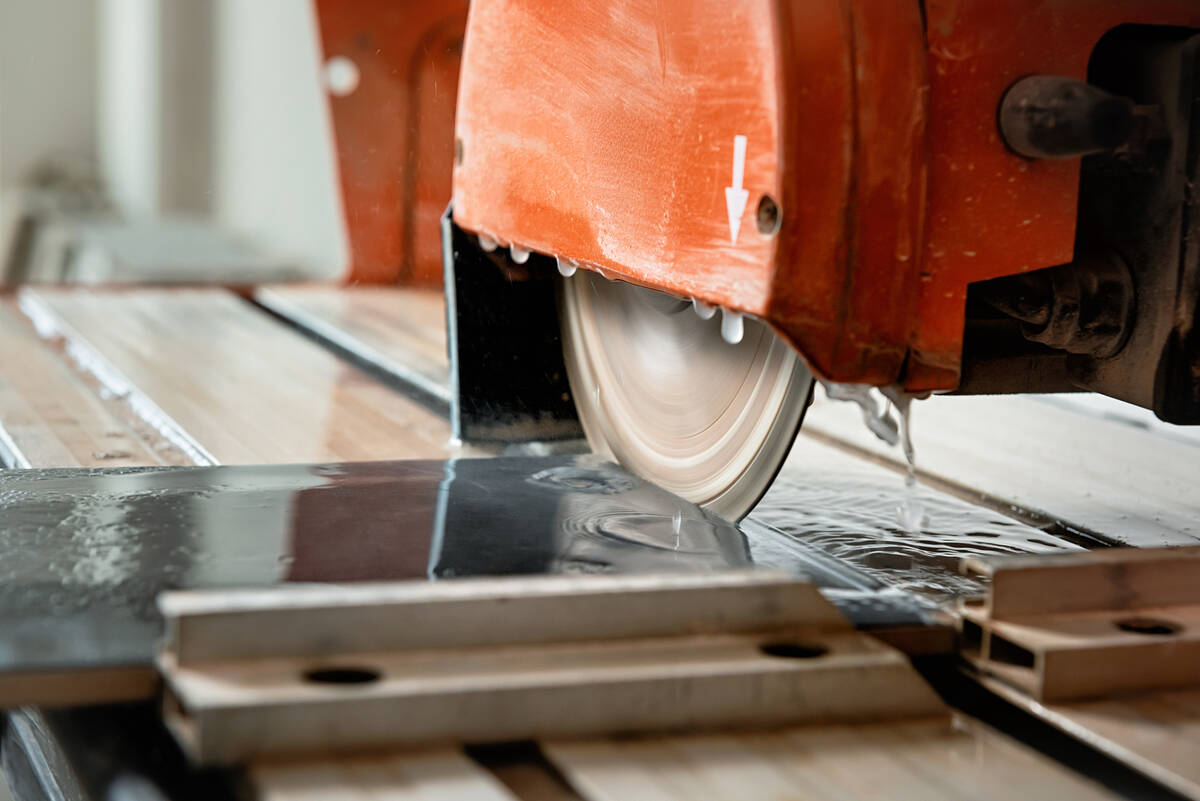
You also will need a wet saw if you want professional-looking results. A cheapie costs around $100, or you can rent one for about $50 a day. If you only have a few tiles to cut, you can take them to a home center, where they typically charge 50 cents per cut.
Mix up a batch of thin-set mortar, which costs about $10 a bag but is enough to cover about 90 square feet using a trowel with quarter-inch teeth. Don’t mix more than you can use in an hour because after that it tends to clump.
When you snapped the chalk lines, you divided the room into quadrants. Start in one quadrant and complete it before moving on to another one. It’s best to start in the quadrant farthest from the door to avoid tiling yourself into a corner.
Spread the mortar using the trowel. Start in the quadrant at the intersection of the chalk lines and work your way back, holding the trowel at a slight angle to spread the mortar. Get it close to the lines but don’t cover them.
I usually do several rows at a time depending upon the size of the room, head back to the wall, make any cuts with the wet saw and then move on to the next row. Leave yourself enough room to make any needed cuts for the corners, then back out of the quadrant.
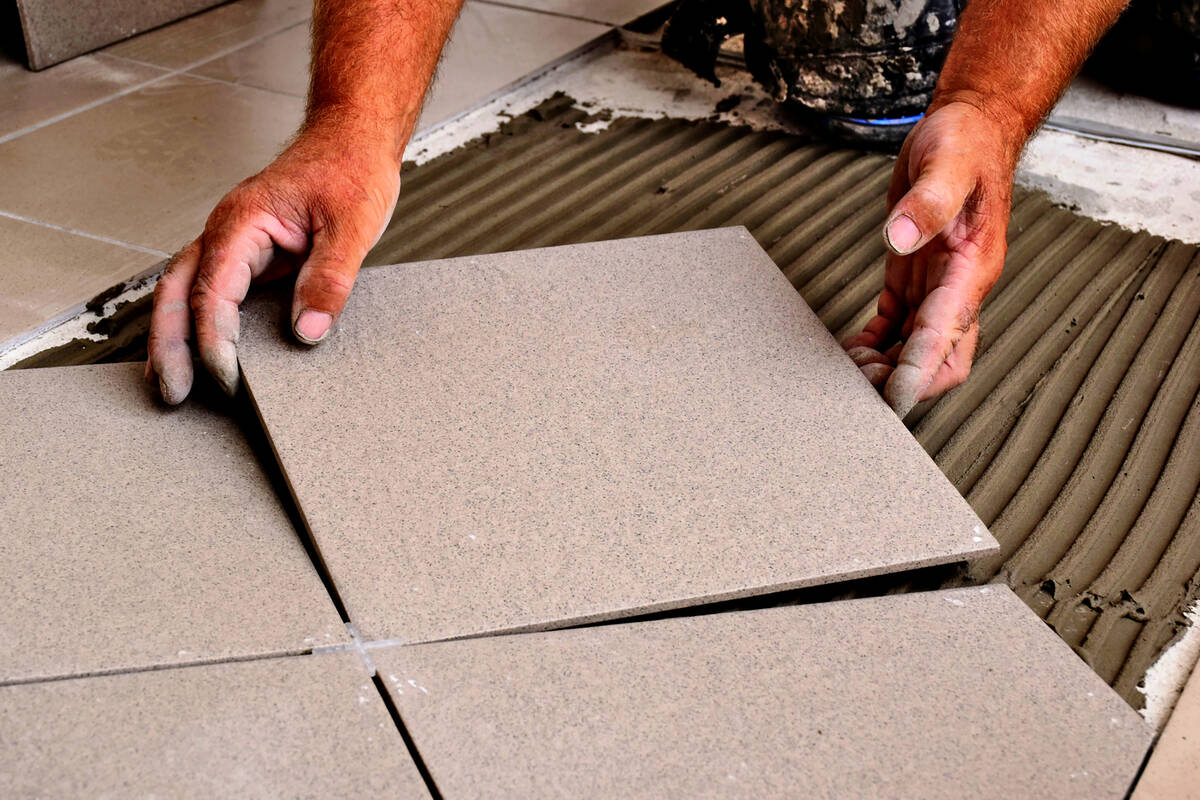
Set each tile into the mortar with a slight twisting motion as you press down. Keep the tile’s edges aligned with the chalk lines, inserting spacers as you go. Remove the spacers after the tiles have had time to firm up and while you can still reach them without disturbing the tiles.
There will be some mortar that squeezes out between the tiles (where the grout will go). This is normal but don’t let the squeeze-out build up too much, or it will rise higher than the surface of the tile, which will affect the grout. I usually keep a sponge and paper towels on hand to scoop out excess mortar while it’s still wet.
Once the tile is down, wait at least 24 hours before you grout. The floor will look pretty bad with just the tile down, but the grout will pull it all together.
Before I grout, I put painter’s tape on the baseboards at the height of the tile. After I grout and before it has had a chance to harden completely, I slowly pull the tape off the baseboards. It leaves a crisp grout line with no smudges.
To grout, you will need a grout float (a piece of rubber attached to a handle), bucket of water, large sponge and dry white rag. Mix the grout, then use the grout float to push it into the spaces between the tiles. Keep the face of the float at an angle and pull it diagonally across the face of the tiles, filling every nook and cranny. Wring out the sponge in clean water and wipe up the excess grout.
About 15 minutes after you sponge off the grout, you will notice a haze forming on the tile. Use the rag to buff it off. You should do this promptly.
You can buy a transition strip for the entry to your bedroom, or you can use that extra bit of carpet you had left from the hallway. Hammer down some tack strip, stretch the carpet over it and then trim the carpet to size.
Mike Klimek is a licensed contractor and owner of Las Vegas Handyman. Send questions to handymanoflasvegas@msn.com or 4710 W. Dewey Drive, No. 100, Las Vegas, NV 89118. Visit handymanoflasvegas.com.
Do it yourself
Project: Installing a ceramic tile floor
Cost: Starting around $1.50 per foot
Time: 1-2 days
Difficulty: ★★★★★


