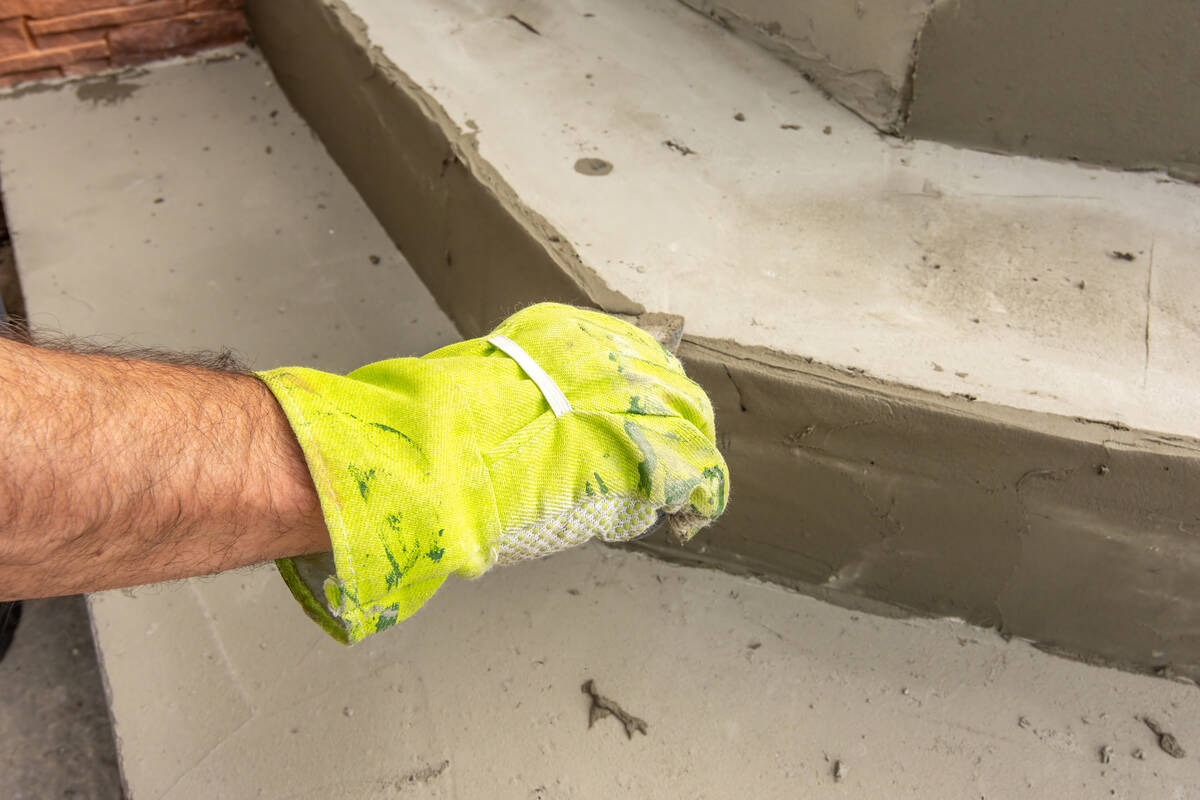
Fixing damaged concrete step is easy
Q: I have some concrete steps leading to my front door, and the bottom step has been damaged. The corner of the step is missing. I would like to repair it so that it is safe and attractive. How do I go about this?
A: Fixing the step is surprisingly easy. You probably have some of the necessary tools, so you will only need to buy, rent or borrow a few specialty tools.
You will first need to chip away any loose concrete to get to solid concrete so that the patch will hold. You can use a hand sledge or a 3-pound maul, and a brick chisel. Scrape the area with a wire brush and blow away any dust or residue.
Next, construct a form around the chipped step to hold the patch in place. Use 1-inch thick boards around the step. The width of the board depends upon the height of the step, but 1 inch by 8 inches is a good general dimension.
Attach the boards at a 90-degree angle using duplex nails (double-headed nails). Keep the boards from moving by driving 1-inch-by-3-inch wooden stakes into the ground, and nail the form boards to the stakes. Apply a thin film of clean motor oil (or releasing agent) to the inside of the form boards so the patch doesn’t stick to the boards.
Now that the form is in place, you will need to apply a “scrub coat.” This is a mixture of liquid bonding agent and sifted premixed sand mix. Dampen the area with a spray bottle and apply the scrub coat. Make sure that the scrub coat is still wet when you actually start filling the patch with the wet sand mix.
Concrete is always thirsty. If you start filling the patch with wet sand mix and you don’t first dampen the surrounding concrete, the surrounding concrete will absorb the water from your patch, causing it to fail.
This repair is fairly small, so you will only need a bag or two of sand mix such as Quikrete or Sakrete (each bag costs a few dollars). This stuff is easier to mix than a cake mix; you only need a little water. Pour the sand mix in a bucket and add water to make a workable consistency. When you can squeeze a handful and it doesn’t crumble or drip, you have the right consistency.
Fill the damaged step a little at a time with a pointing trowel (less than $10), and pack down the mixture to squeeze out any air bubbles. Continue filling the area until it is slightly higher than the surrounding surface.
Use a wood float (or a 1-inch-by-4-inch board — it’s cheaper) and tilt it on its edge. Move the wood back and forth to pack down the wet sand mix, and let the whole thing sit for a few minutes.
Place an edging tool (less than $10) between the form board and the patch. Using short strokes, shape the edges of the step. The edging tool forms the small curve on the nose of the step.
Let the patch sit for about 45 minutes. If water is still pooled on the surface, it’s too wet. Periodically, press down on the patch with your thumb. If you leave only a light thumbprint, grab a magnesium float (less than $20) and smooth it out.
To texture the patch to match the surrounding concrete, use a stiff-bristled broom and brush the surface.
Wait 30 minutes more, and then remove the form boards. Use the edging tool to shape the vertical corner. You will want to keep the patch moist so that it cures properly. Spray the patch with a garden hose or spray bottle two or three times a day for three days. After that, moisten it twice a day for a week.
Mike Klimek is a licensed contractor and owner of Las Vegas Handyman. Questions may be sent by email to handymanoflasvegas@msn.com. Or, mail to 4710 W. Dewey Drive, No. 100, Las Vegas, NV 89118. His web address is www.handymanoflasvegas.com.
Do-it-yourself
Project: Concrete step repair
Cost: Under $30
Time: 1-3 hours
Difficulty: ★★★


