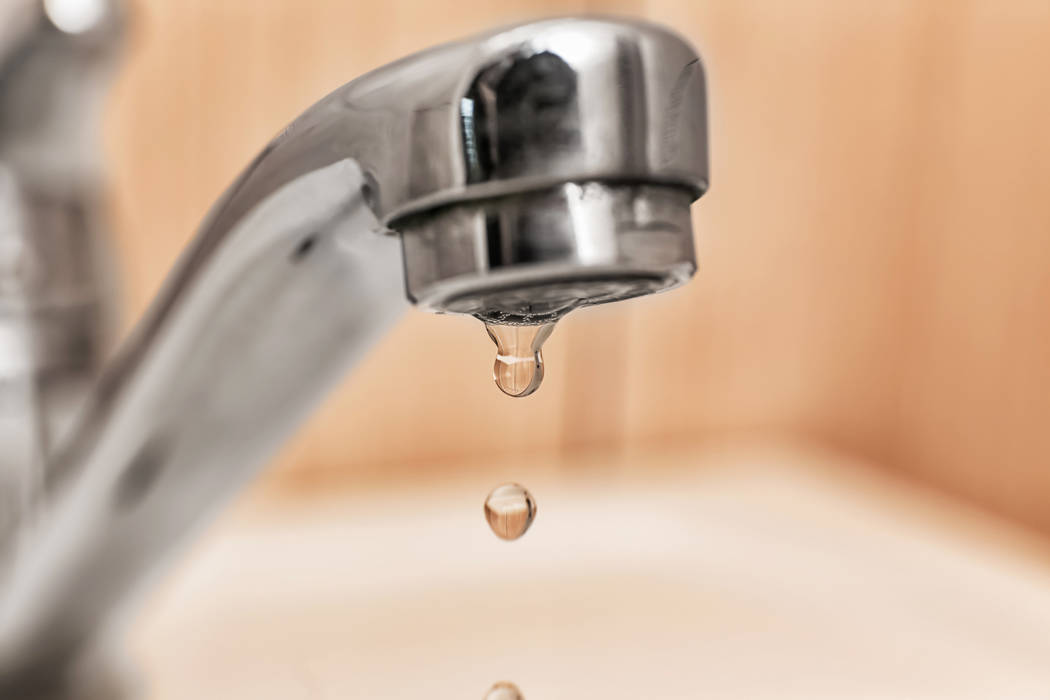
Dripping ball-type faucet is inexpensive fix
Q: I have a kitchen faucet that is dripping from the spout so I planned on replacing the cartridge to stop the dripping. My problem is that I took the handle off and discovered that this type of faucet doesn’t use a cartridge. Instead, it has just a metal stick poking up through the top of the faucet’s body. Can this type of mechanism be repaired or am I looking at a new faucet?
A: There are lots of different types of faucets, and they use different methods to control the flow and temperature of water. Your faucet uses a ball-type mechanism to control the water. Your faucet is probably manufactured by Delta or is a Delta knockoff.
The metal stick you see is connected to a ball that has openings in it. The ball rests on top of some neoprene washers and springs. When you lift the faucet handle, the position of the ball changes causing the openings in the ball to align with the washers, and this allows water to flow through to the spout.
Over time the parts wear out and you get a drip. You need to replace the washers and springs and, possibly, the ball if it shows signs of wear. The whole assembly looks a little futuristic with a joystick poking out of a dome.
Since you already have the handle off, you now need to remove the cap. Remember first to turn the water to the faucet off, or it’s shower time. The cap looks like a dome with the metal stick sticking through the center of it. Using slip-jaw pliers, gently goose the cap loose (wrap the jaws of the pliers with tape or cloth to avoid scratching the cap).
You will need a special tool to remove the cam that holds the ball down. The cam tool costs about $2 and is a little smaller than a credit card. It slips over the metal stick, and the teeth in it allows you to unscrew the cam.
Remove the cam and the cam washer, and then you can lift out the ball. Replace the ball if it looks worn. A repair kit with a new ball, springs and washers costs about $10.
Underneath the ball, lodged inside the faucet will be the neoprene washers and springs. Use a small screwdriver and pull these out. Push the replacements back down into the holes.
While you have the faucet disassembled, you may as well replace the O-rings inside the spout. These O-rings stop water from leaking at the base and top of the spout.
Pull the spout upward while gently moving it from side-to-side. There will be two O-rings to replace. Pull the rings away from the faucet body with a small standard screwdriver and cut them off.
Coat the new O-rings with heatproof grease (liquid soap also works) and slip them into the grooves over the faucet body. Push the spout back down onto the faucet body.
All that is left is to put the faucet back together. Push the ball back into place, slip in the cam washer and set the cam into place so that the lip on the cam fits into the notch on the faucet body. Screw the cap back on and then secure the handle to the joystick. Turn the water back on.
Mike Klimek is a licensed contractor and owner of Las Vegas Handyman. Questions may be sent by email to handymanoflasvegas@msn.com. Or, mail to 4710 W. Dewey Drive, No. 100, Las Vegas, NV 89118. His web address is www.handymanoflasvegas.com.
Do-it-yourself
Project: Repair a ball-type faucet
Cost: Around $15
Time: Under 1 hour
Difficulty: ★★★


