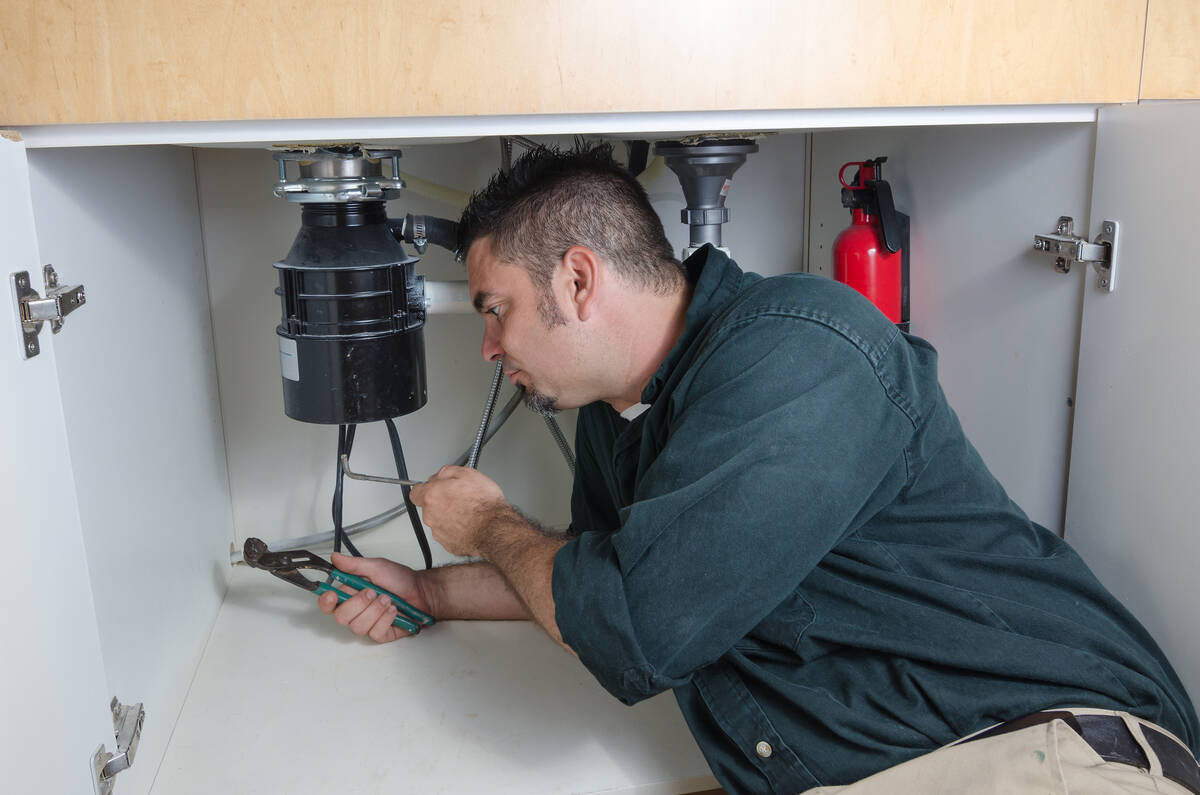
Don’t assume nonworking garbage disposal needs replaced
Q: My garbage disposal has stopped working, and I think it needs to be replaced. Can you recommend a replacement that is easy to install?
A: Are you sure it needs to be replaced? At least half the calls I get for broken disposals turn out to be easy fixes.
If the disposal doesn’t make noise when you turn it on, press the reset button on the bottom of it. If the motor overheats or is overloaded, this button will trip and turn the motor off. Pressing the button back in will restart the motor. (You should also test the outlet to make sure there is power getting to the disposal and, if not, check the breaker.)
If the disposal makes a humming noise but doesn’t grind food, it is jammed. Most disposals come with a tool to clear a jam. If you have lost yours, you can use an Allen wrench.
Take the tool and insert it in the hole on the underside of the disposal. As you twist the tool, you will hear and feel the obstruction. Keep twisting until the blades move freely. If you still can’t budge the blades, you will need to remove the disposal and manually clean out the obstacle.
If your disposal is dead, plan on spending about $100 for a ⅓-horsepower disposal and about an hour to replace it. You can save yourself some time if you buy the same brand of disposal because the new one will attach easily to the old mounting ring.
To remove the disposal, unplug it and grab a screwdriver. You will need to disconnect the dishwasher drain hose, which is attached with a hose clamp, and the drainpipe. They should easily disconnect but have a rag handy to absorb a little water.
The only thing left holding the disposal in place is the mounting ring. The mounting ring squeezes a rubber gasket (the black thing you see when you look down at the sink) into the mounting assembly, which holds the disposal to the sink. The mounting ring has “ears” on it that hold it to the mounting assembly. It also has round lugs in it that will allow you to remove the disposal.
Stick a screwdriver in one of the mounting ears and, as you support the disposal, rotate the ring counterclockwise. The disposal will drop off into your hand.
If you’ve chosen the same brand disposal, it should reattach easily to the old mounting assembly. If you are using a different brand, you probably will have to remove the old assembly and install the new one.
Removing the old assembly usually involves unscrewing the mounting screws and removing the snap ring, gasket, mounting and backup rings, and the sink flange. The new mounting hardware will be included in the new disposal package. If you install the new mounting assembly, make sure you use plumber’s putty under the sink flange to keep out the water.
Once the mounting assembly is in place, make the electrical connections at the bottom of the disposal. (Most disposals don’t come with electrical cords included, so if the old cord is in good shape, save yourself $12 and reuse it.)
You will need to connect the white wires together with a wire nut, then connect the black wires together. Connect the green wire to the grounding screw and replace the cover plate on the bottom of the disposal.
Next, if you have a dishwasher, remove the knockout plug by placing a screwdriver against the plug and tapping it with a hammer.
Hold the disposal against the mounting assembly so that the mounting ears fit into the openings in the assembly. Turn the mounting ring clockwise until the disposal is supported by the assembly, but don’t fully tighten it yet. Line up the drainpipe so that it will easily connect to the disposal.
If it is too long, cut it to length with a hacksaw. Attach the dishwasher drain hose to the dishwasher nipple on the side of the disposal and tighten the hose clamp.
Finally, lock the disposal into place by inserting a screwdriver in the mounting lug and turning clockwise until the mounting ears bottom out. Plug in the disposal and listen to the sweet sound of food being ground into oblivion.
Mike Klimek is a licensed contractor and owner of Las Vegas Handyman. Questions may be sent by email to handymanoflasvegas@msn.com. Or, mail to 4710 W. Dewey Drive, No. 100, Las Vegas, NV 89118. His web address is www.handymanoflasvegas.com.
Do-it-yourself
■ Project: Repair/replace a garbage disposal
■ Cost: From around $100
■ Time: About 1 hour
■ Difficulty: ★★★


