DIY bathtub replacement is challenging project

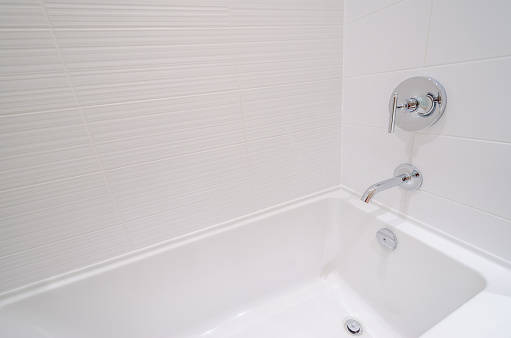
Q: My bathtub is old and abused, and I am tired of listening to my wife complain about it. I would like to replace the tub, but I am a little nervous about taking on a job of this size. The walls of the tub area are ceramic tile and the tub faucet comes out of the wall instead of sitting on the tub. What is the most difficult part of this job?
A: The most difficult part of this job is probably getting your wife to use the shower while you are working on the tub.
All joking aside, this is a challenging project where many things can go wrong. The biggest challenge is the drain and overflow connections. In fact, you may want to do the grunt work and then hire a plumber to make these connections. The connections are not horribly difficult, but if you screw them up your problems really magnify.
You first need to remove your old tub. If you have an access panel behind your tub, you can unscrew the drain and overflow assembly from the drain.
You can disconnect the tub strainer and overflow by unscrewing them, which will free the tub from the drain, but you will need to get access to this area to reinstall the new tub. This may mean removing a portion of the wall behind the tub. You may luck out, however, and find an access panel behind the tub to disconnect and reconnect the drain.
Wear safety goggles and chop out the first row of ceramic tile around the tub with a hammer and chisel. You will need to cut out a portion of the wallboard under the tile to get access to the wall studs. The tub will be screwed or nailed to the studs, so remove these to free the tub.
Bathtubs are heavy and difficult to maneuver. Cast iron tubs are particularly brutal. Get help to move these.
You can cut or break up the old tub. Use a reciprocating saw to cut through the tub or use a sledgehammer to break up a cast iron tub (just cover it with a blanket first). Haul out the old tub and clean up the debris.
You may want to remove the toilet and maybe even the vanity to get room to place the new tub (your other option is to lift the tub over these items, not likely with cast iron).
Once you have the new tub, you will want to slip it into place, take some measurements, and slide it back out again. You can lay down a couple of 1-by-3s as runners and slide the tub across the top of them. Push the tub into place and pull out the runners. Use a level across the back and sides of the tub and shim the tub until it is completely level.
Make a mark across the studs around the perimeter of the tub. Also, look in the drain hole to check the alignment of the drain pipe. It should be close if not perfect to where you need it. Slide the runners under the tub and pull the tub back out.
You need a ledger around the perimeter of the tub. Measure from the top of the tub’s nailing flange to the underside of the tub’s rim and subtract that amount from the marks you made on the wall studs.
This is where you will screw a ledger board to the studs. The board is where the rim of the tub will rest when it is installed.
Next, install the tub strainer and overflow assembly (you will have to buy these items in addition to the tub). You can buy the drain stopper that has a linkage (it has a lever that comes out of the overflow cover) or the “pop-up” style, aka a “trip-it.” Buy the trip-it style; it is easier to install and — in the long run — easier to maintain.
The manufacturer will have specific instructions on installing the strainer and overflow assembly, but, generally, it is a matter of applying a ring of plumber’s putty to the underside of the strainer and screwing it until snug into the drain tailpiece.
The overflow assembly is attached with gaskets and washers and then screwed together.
If you are installing a fiberglass tub, you may want to lay down a bed of thinset mortar on the floor. This will allow the tub to settle into it and firm up the base of the tub.
Slide the tub back into place until it rests on the ledger boards. Secure the tub to the wall framing with galvanized nails. Some tubs have predrilled holes for this, but on those without, you will nail it so that the head of the nail pins the flange to the wall.
Now you must connect the drain tailpiece to the trap. You will likely have to trim or adjust this piping so that it aligns and fits well. Tighten the nuts on the trap and tailpiece connection and test everything for leaks.
If you had to realign the pipes, you may need to replace some of the fittings. While you have the area open, if any parts look questionable, it is a great time to replace them.
After your job passes the leak inspection you can repair the walls (and/or ceiling) and retile around the tub.
Finally, send your wife to the store for a fresh supply of candles. Who knows, this job may pay dividends for both of you.
Mike Klimek is a licensed contractor and owner of Las Vegas Handyman. Questions may be sent by email to handymanoflasvegas@msn.com. Or, mail to 4710 W. Dewey Drive, No. 100, Las Vegas, NV 89118. His web address is www.handymanoflasvegas.com.
Do-it-yourself
Project: Replace a bathtub
Cost: From around $300
Time: 1-2 days
Difficulty: ★★★★★


