7 common DIY painting mistakes and how to avoid them
Summer is a good time for many homeowners to take on a painting project. But whether painting one room or many, any DIYer can make mistakes that negatively affect aesthetics or needlessly extend the time it takes to finish the job. Here, a few experts share some of the most common DIY painting mistakes and how to avoid them.
1. Not thoroughly sampling colors
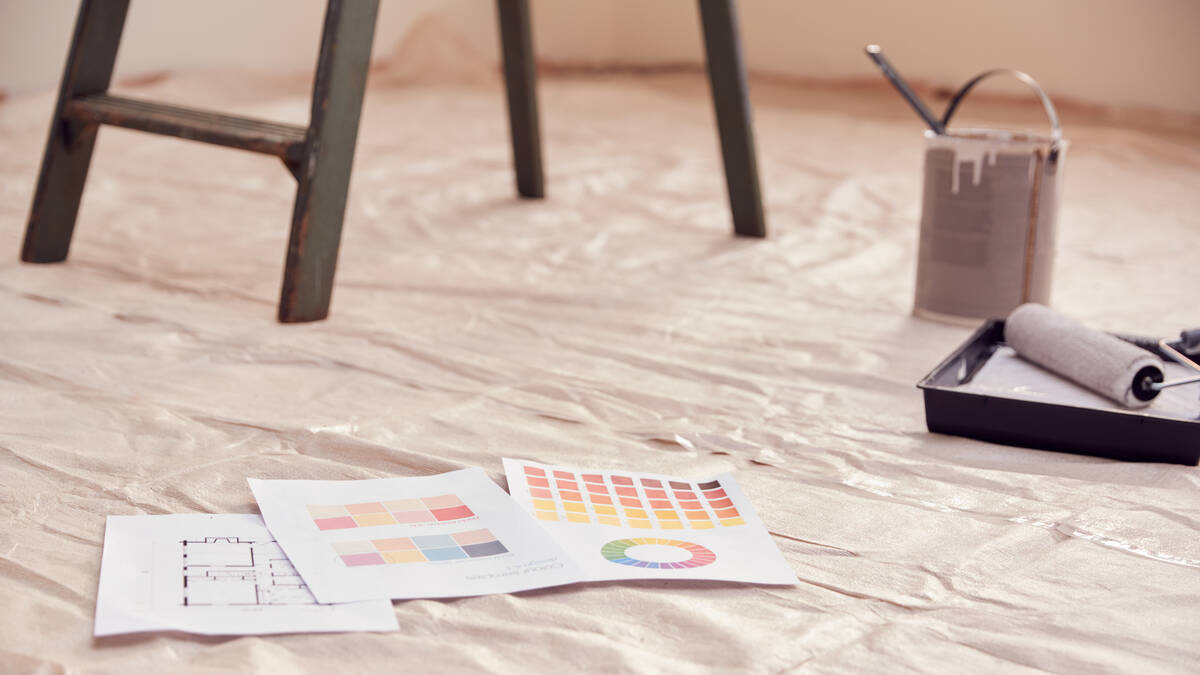
Choosing the wrong color is often the result of rushing the selection process, says Jessica Mycek, a color expert with Dunn-Edwards DURA. Mycek encourages customers to take their time and use wet samples, 6-ounce jars that allow you to paint a small wall section. She recommends painting a 2-foot-by-2-foot area in every room.
“See what it’s like in that space, how the natural or artificial light works with the color, and make sure you’re going to like it for a long time before you buy,” she advises.
2. Choosing the wrong sheen
The wrong sheen for the room may be worse than choosing the wrong color, adds Jeff Manning, CEO of ABG Builders, a contractor in Las Vegas. Especially in a large room.
“Glossy paint in a living room will have light reflecting off of it and it can give you a headache,” he says.
Design trends have favored flatter colors for a while. In larger areas of the home where an eggshell sheen was common, designers are opting for softer matte or satin finishes instead.
Many are even using flatter sheens in bathrooms and kitchens, where semi-gloss was the go-to for a long time. It’s worth asking an in-store paint expert about which flatter finish coatings hold up to moisture well.
“Many matte finishes are very cleanable. They may not be scrubbable, but they are cleanable,” Manning says.
3. Not prepping the surface enough before painting
Surface preparation can be a confusing term for DIYers. Put simply, it’s making sure the surface is clean and ready for paint. The naked eye cannot see the cleanliness (or lack thereof) of a wall surface.
If the wall is dusty or grimy, it can affect the color and the paint’s ability to adhere. So, a simple wipe-down of all wall surfaces is an absolute minimum.
“Mix lukewarm water and a mild soap then apply to the surface in a circular motion,” explains Dennis Fiorilli, director of product excellence for Sherwin-Williams. “Clean the wall with a sponge and … then ensure all areas are dry before applying painter’s tape and painting.”
Don’t expect the paint to fill in tiny tack holes either. Fill them in with drywall putty, lightly sand the surface and wipe the dust off afterward, Mycek adds. It’s also important to remember that a wall repair, whether a tack hole or larger, will require a primer in order for new paint to bond well.
“Talk to your experts in the stores to ensure you have the right primer, too,” Mycek says.
4. Not protecting surfaces and choosing the wrong tools
Often DIYers think they won’t need a drop cloth, only to find overlooked floor drips on the bottom of their shoes and all over the house. Use drop cloths in all spaces, Manning emphasizes.
It’s also important to use the right brushes and rollers. Like coatings, they are all designed for specific surfaces and/or paints. That means, a water-based wall paint and heavy lacquer will require different applicators. Ask an expert which brush widths/sizes, angles and filament types are right for the job.
Rollers are another area where DIYers often make the wrong choice, Manning says. Typically, a textured wall requires between ⅜-inch and ½-inch thick rollers, but it’s still a good idea to snap a photo of the wall to help the paint counter staff see if a thicker or thinner roller is better.
5. Using the wrong tape
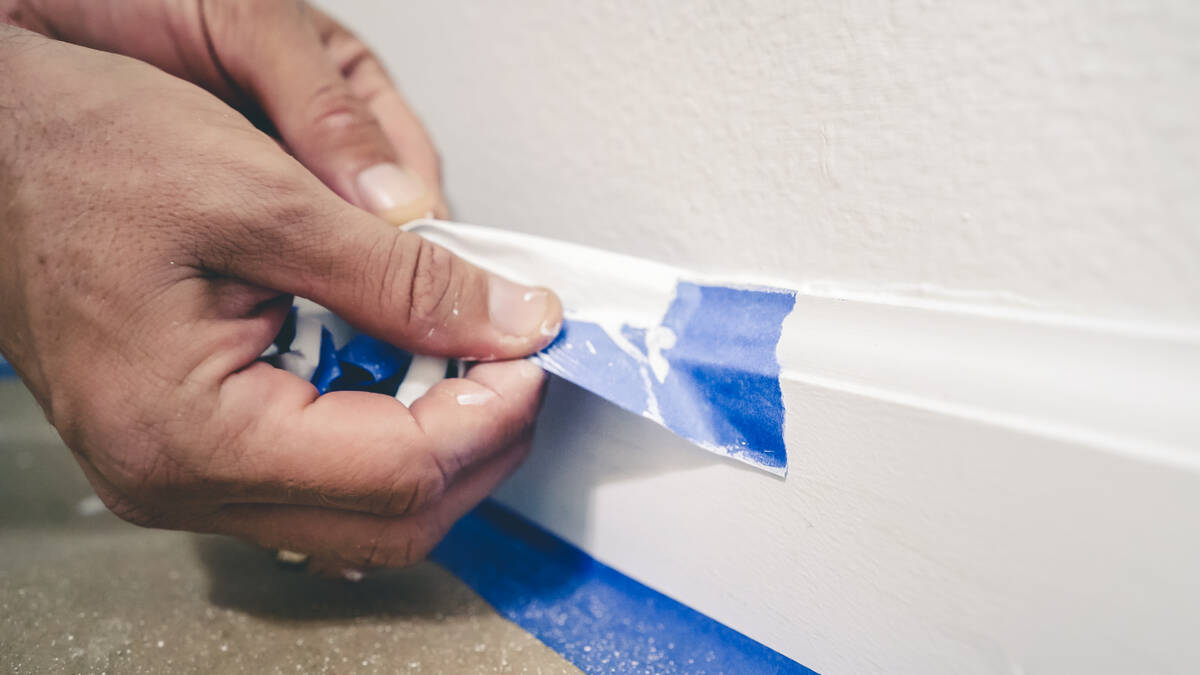
Tape bleed is a huge point of frustration for many DIYers. And it often happens because they are reaching for the cheapest tape out there. There is a lot of science that goes into tapes and the adhesives created for them, Mycek explains.
For one, it’s important to understand the drawbacks of high adhesion. High-adhesion tapes should not be left on the surface for very long because they will damage it.
There are also specific tapes designed to help you cut crisp lines by offering optimal adhesion on their edges without damaging surfaces if left on for a longer period. Some tapes are even strictly designed for outdoor work, and there are many more.
There’s a lot of online information from tape manufacturers that can help you narrow down your choice.
6. Spot painting instead of covering the whole wall
If you’ve ever gone to the paint counter with an old can of paint or a wall chip and thought you left with the perfect match, only to be disappointed, chances are it’s not because the person at the counter made a mistake. After only six months, a wall chip or old paint has slightly changed color, making it impossible for an absolutely perfect match. Heat in a garage can alter the color. Even dry paint on a wall in a relatively dark room may change color slightly.
Manning offers a fix. “Go from edge to edge and floor to ceiling on that one wall. People will try to patch paint and feather it out, but you’ll see the color difference every time,” he says.
7. Not leaving enough time for the paint to dry
A quality paint job requires two coats. Waiting for the first coat to dry is important, otherwise, you may leave behind brush or roller marks, according to Fiorilli.
“It is also important to follow the instructions on coating film build to understand the thickness of each layer,” he adds.
And when you’re done with the job, keep in mind that paint takes up to seven days to fully cure, Mycek says. So, it’s a good idea to wait at least a few days, or even a full week, to hang up art or place furniture against the wall.
For a successful project, Mycek and Manning emphasize the importance of patience. “Don’t paint on a whim. Make a plan before you buy the paint,” Mycek adds, “because — again — you pick the wrong color, you pick the wrong tape, one weekend could quickly turn into three.”


