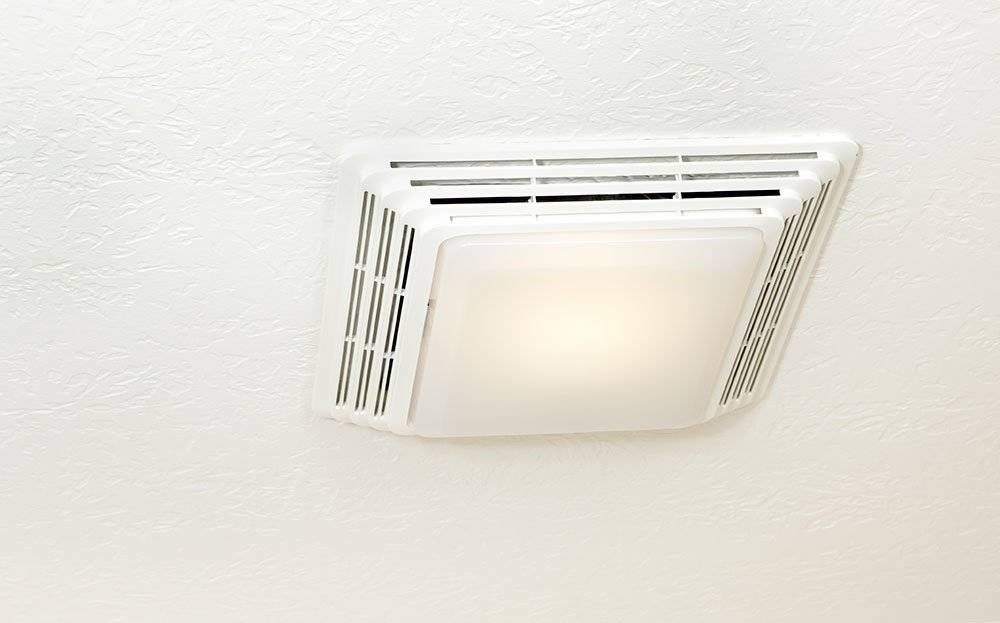
Installing exhaust fan requires cutting ceiling, wall holes
Q: I just bought a house and was advised to install some type of ventilation in a bathroom that does not have a window or a fan. The bathroom has an exterior wall. What is the easiest way to accomplish this?
A: The easiest way is to pay somebody else to do the work. Short of that, a bathroom exhaust fan is probably easier than cutting a hole in your wall and installing a window. Plus, to ventilate the room, you won’t need to open the window during the heat of the summer or the cold of winter.
Many fans are available starting around $25. The proper size of fan for your bathroom should be one that can exhaust a cubic foot per minute per square foot of the bathroom. Also, the cheaper fans are typically the loudest. If you don’t want it to sound like an airplane engine every time you flip the switch, then plan on spending a little more money.
You’re going to need to get into the attic to scope out the situation. First, you should find a spot for the fan, vent it to the exterior, then run an electrical line and switch.
Choose a spot on the ceiling and use the template from the fan’s box to cut out the hole. Use a drywall saw and cut around the template. Then, lay down a thick bead of caulking and set the fan and its box into the hole, squishing it into the caulking for a leak-free connection. You can then secure the box to the ceiling with drywall screws.
Because your bathroom is at an exterior wall, I would run the exhaust through the side wall rather than going through the roof. If you can, always avoid cutting through the roof, as nothing good can come from it. The best you can hope for is that the roof will still be watertight after you are done. So, vent the exhaust through the side wall of the attic.
When you secure the fan to the ceiling, orient it so that the exhaust port faces the side wall. That way, you will minimize the distance the exhaust has to travel. You want the ductwork to be as short and as straight as possible, while the duct should be slightly pitched toward the exit point.
Mark the spot on the side wall where the vent will exit and cut a hole in the side wall. You can use a reciprocating saw with a demolition blade to cut through the inside of the wall and employ a masonry blade in a circular saw to cut through the stucco on the outside.
Connect the duct to the port on the side of the exhaust fan and wrap the connection with foil tape. Where the duct exits the wall, you can install a louvered dryer vent. That will keep the weather and pests out when the fan is not in use.
Now you need to supply power to the unit. You should be able to tap into the light switch to run both the light and the fan at the same time — it would be smart to consult with an electrician here — or you can run a second switch to run the fan independently of the light. Just turn the power off at the main panel before you start playing with the wires.
If you want the fan and light to run together, you will need to tap into the electrical connection at either the light or the switch. Just make sure the circuit can handle the extra load — it’s small. You can use appropriate sized NM cable (Romex) and connect the black to black, the white to white, and the copper (or green) to copper.
Run the cable to the fan box and make the same connections. Use wire nuts for tight connections, and then secure the box cover.
Mike Klimek is a licensed contractor and owner of Las Vegas Handyman. Questions may be sent by email to handymanoflasvegas@msn.com. Or, mail to 4710 W. Dewey Drive, No. 100, Las Vegas, NV 89118. His web address is www.handymanoflasvegas.com.
Do-it-yourself
Project: Installing a bath exhaust fan
Cost: From $75
Time: Around 4 hours
Difficulty: ★★★★


