Pair of base cabinets can be made into kitchen island
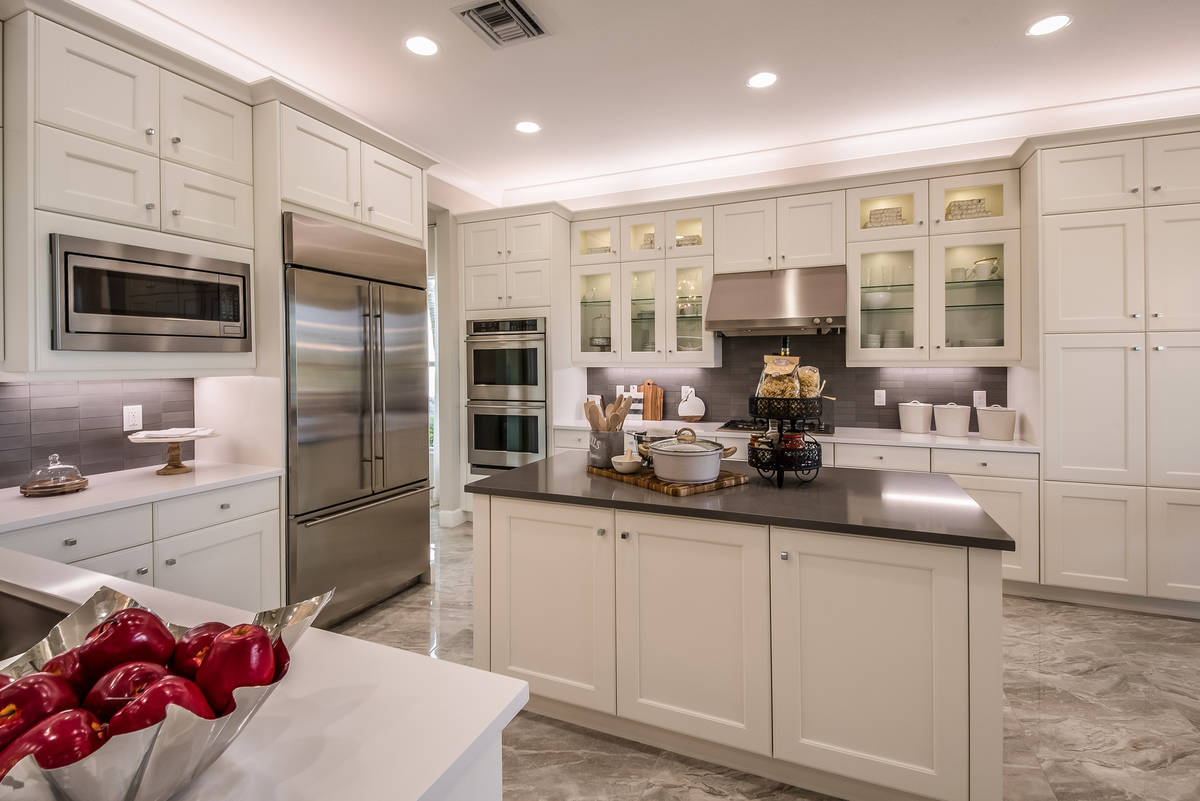


Q: I have a large kitchen with a countertop and cabinets along the perimeter. I would like to add an island cabinet in the middle of the kitchen for some additional counter space and storage. I know I can find a cabinet I like, but how do I install it on the floor?
A: When I think of islands, I conjure up images of beaches, mai tais and bikinis. Kitchens — especially working in one — would be the last thing on my mind.
Installing cabinets on the floor is no big deal, as the “anchoring” process is pretty straightforward. You just need to buy the right cabinet (or cabinets) so that the look fits the room and doesn’t crowd it too much.
You can buy a pair of base cabinets and screw them together to get the size you are looking for. You also can create different footprints using different cabinets, but in doing this, you will create more challenges to make them cosmetically appealing.
Before you start, it’s a good idea to make a template out of butcher paper or cardboard and throw it on the floor where you want the island to go. You can get the feel for the space it will occupy and see if it works for you. Remember to keep at least 36 inches from the island to the perimeter countertop.
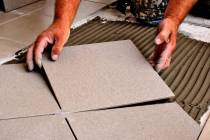
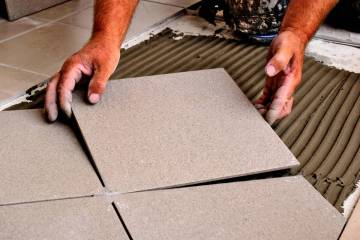
Once you’re happy with the size and shape of the island, you can go buy your cabinets and unbox them. You will anchor some wood cleats to the floor and then secure the bottom of the cabinets to them. The biggest pain is getting the cleats lined up just right so that the cabinets will fit precisely on top of them.
Set the cabinets in the exact location you want them and mark a line on the floor around the perimeter of the cabinets. The thickness of the wood along the bottom of the cabinet is three-quarters of an inch, so you want to install the cleats just a little farther in than that — say, seven-eighths of an inch.
Measure in from your line on the floor and mark another line at this distance. You will install these cleats at the corners.
The cleats are simply 2-by-4s cut into 1-foot lengths. Each corner will get two lengths butted together to form a 90-degree angle. As I said before, you first need to anchor the cleats into the floor.
If your floor is on a concrete slab, you can use masonry fasteners or Tapcon screws (you have to predrill holes and then screw them in). If your floor is on a wood subfloor, you can use wood screws to anchor the cleats.
Once the cleats are laid down, you will need some help maneuvering the cabinets on top of them.
Set the cabinets down so that the base of the cabinets is around the cleats. The cabinets should barely move, if at all. You can secure the cabinets to the cleats with either screws or nails (the heads will be covered with molding or paneling).
If you are using several cabinets to complete the island, connect the face frames of the cabinets by clamping them together and drilling a pilot hole. Countersink the screws so that the head doesn’t hinder the operation of the hardware. You should install three screws spread uniformly for each face frame. Connect the backs of the cabinets as well (you may need to install spacer strips, but these, too, will be hidden).
Now you get to make the island look pretty. Since base cabinets are normally installed against a wall, you will have to cover the back and sides of the cabinets. You can buy end panels that are pre-finished to match the doors, but you need to spread some wood glue on the surfaces before you fasten on the paneling.
After you stick them on, bang in finish nails or brads along the perimeter and into the wood of the cabinet.
Now, you’re almost home. All that’s left is to install some molding along the base and the corners.
You can install regular base molding or quarter-round molding, depending on your taste. Then you can install molding along the vertical corners to hide the rough edges. To cover the nail holes, you can use a wax pencil to fill them, and then run your finger over it to smooth it out.
A top is all that is needed to complete the island.
Mike Klimek is a licensed contractor and owner of Las Vegas Handyman. Questions may be sent by email to handymanoflasvegas@msn.com. Or, mail to 4710 W. Dewey Drive, No. 100, Las Vegas, NV 89118. His web address is www.handymanoflasvegas.com.
Do-it-yourself
Project: Adding a kitchen island
Cost: From $200 on up
Time: About 1/2 day
Difficulty: ★★★★