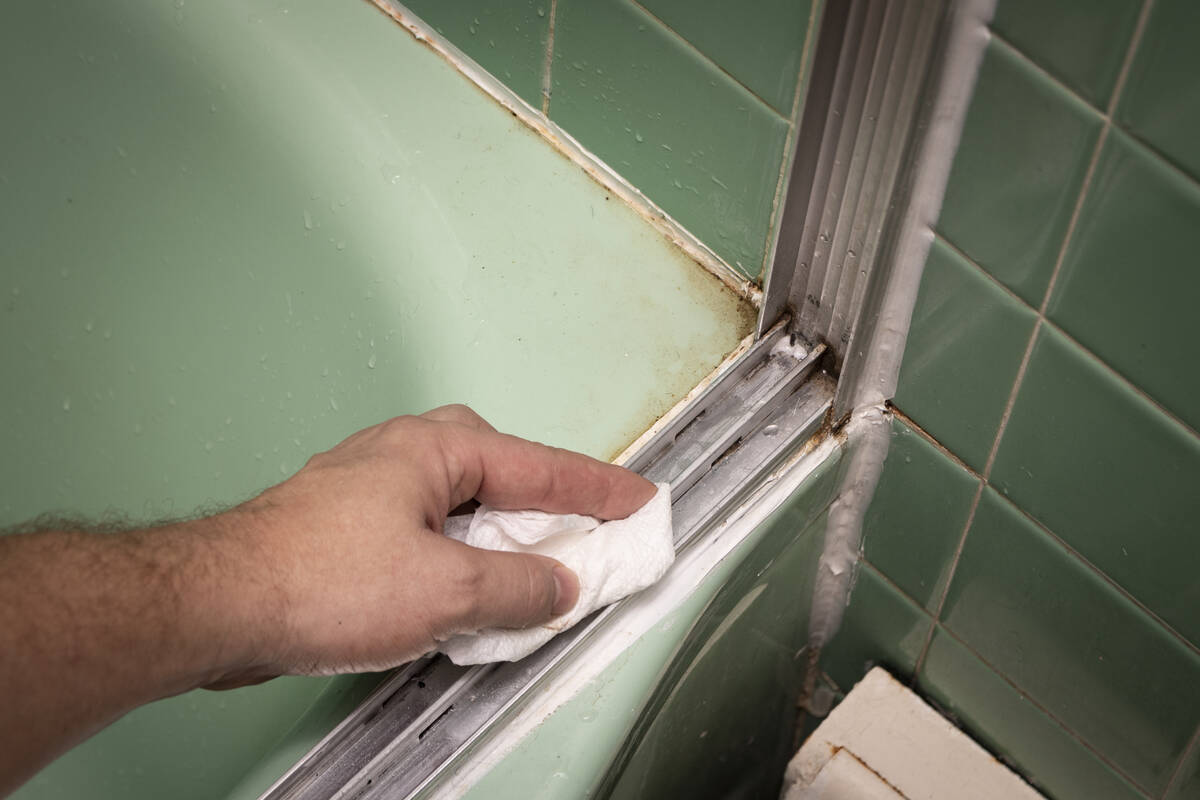
‘Measure twice and cut once’ when installing tub doors

Q: I want to replace my ripped, moldy bathtub curtain with sliding bathtub doors. It’s easy, right?
A: It can be, but plan on spending an hour or two to complete the job and another 20 minutes to scrub up afterward.
Tub enclosure doors start at around $250, but before purchasing them, measure the length of the tub and the height of the walls. Make sure the doors you want have the proper dimensions to fit the opening, and handle them with care as they are glass doors and are usually in flimsy metal frames.
There is a carpenter’s rule that applies to this job: Measure twice and cut once. The first step is to measure (again) the distance from one wall to the other (the length of the tub). This is where the bottom rail will go. Manufacturers’ instructions often say to subtract a certain amount (usually 1½ inches) from this measurement as the side jambs will make up the difference.
After cutting the bottom rail to the proper length, place it on the tub equidistant from the walls. Also, make sure that the distance from the edge of the tub to the bottom rail is uniform down the entire length of the rail. Draw a line with a pencil on the tub at the edge of the rail to act as a guide, and then tape the rail temporarily to the tub.
Next, hold the wall jambs against the wall, making sure there are no gaps between them and the bottom rail. The wall jambs must be fully engaged with the bottom rail. Get a level and when the wall jambs are plumb to the wall, mark the holes in the wall jambs on the wall (there are usually three holes in each wall jamb).
Remove the wall jambs and the bottom rail. Lightly center punch the hole locations. On ceramic tile, use the center punch just to nick the surface glaze. Tap the center punch very lightly with a hammer so you won’t crack the tile.
Then, drill the holes to the diameter that the manufacturer suggests (usually 3/16 of an inch). For drilling through ceramic tile, use a tile/glass bit (about $10). After drilling, clean the tub ledge thoroughly and insert the plastic anchors (they come with the doors) into the wall.
Caulk the grooves in the underside of the bottom track with silicone bath caulk and install the track in the location you previously marked.
Place the wall jamb over the bottom rail and align the holes in the wall jamb with the holes in the wall. Secure the wall jamb to the wall using the screws in the kit.
Measure the distance from the top of one wall jamb to the other, and cut the top rail to fit the opening. There are no screws or glue used to keep the top rail in place. Instead, the weight of the doors (they hang from the top rail) pulls the top rail down onto the wall jambs. File the rough burrs left by cutting the top rail, and install the top rail onto the wall jambs.
Screw the rollers to each door’s top frame flange per the manufacturer’s instructions. Install the inside door first by lifting the door up inside the top rail and gently setting the rollers on the inside track of the rail. If the door is crooked in the opening, loosen the roller screws to adjust the rollers and align the door, then tighten the screw and rehang the door.
Hang the outside door in the same manner, except that the outside door usually has a guide leg that rides over the bottom rail. As you lower the rollers into the outside groove, make sure that this guide leg rests over the bottom rail. Adjust the outside door as needed.
Install the inside door panel guide. This ensures that the inside door stays over the bottom rail and that it will not swing. The inside panel guide fits into a groove in the bottom rail and is attached to the inside door with two screws.
Move the door along the bottom rail to make sure it doesn’t bind. If it does, adjust the panel guide until the door rolls smoothly.
Finally, caulk along the inside of the wall jambs (where the wall jamb meets the wall) and on the inside of the wall jambs where they meet the bottom rail. Although it’s not necessary, you also can caulk on the outside of the wall jambs if you like the look. Wait 24 hours for the caulk to firm up before using the shower.
Mike Klimek is a licensed contractor and owner of Las Vegas Handyman. Questions may be sent by email to handymanoflasvegas@msn.com. Or, mail to 4710 W. Dewey Drive, No. 100, Las Vegas, NV 89118. His web address is www.handymanoflasvegas.com.